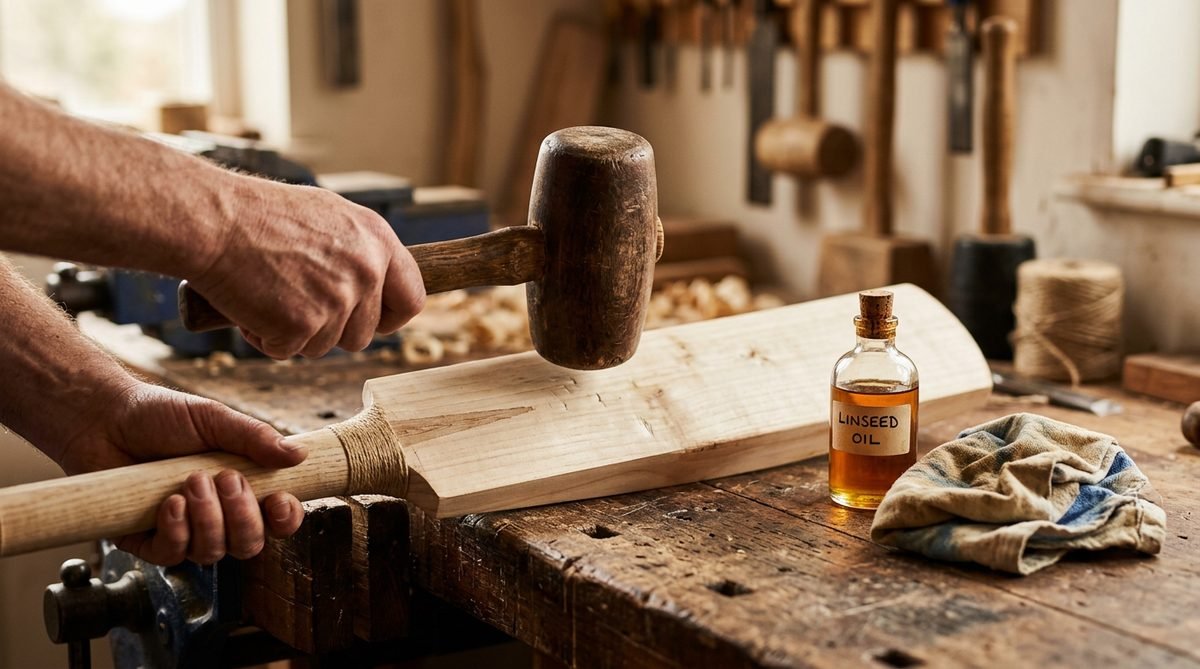
To knock in a new cricket bat, give the bare face and edges one or two light coats of raw linseed oil, let it dry flat for a day, then tap the face with a wooden bat mallet for four to six hours spread over a week, starting gently and building up. Finish by facing short throwdowns with an old leather ball before you take the bat into a match.
That is the short version. The detail matters, because a badly knocked-in bat can crack at the toe or edge in its first innings, and on an English willow bat that can mean losing ₹10,000 or more in one ball. Below is the full step-by-step method, how long each stage takes, how to oil without over-oiling, and which bats need far less work than this.
We may earn a commission from Amazon links, at no extra cost to you. See our disclosure.
Why a new bat needs knocking in
Willow is a soft, fibrous wood. When a bat leaves the factory, the fibres on the face are pressed, but not compressed enough to take repeated impact from a hard leather ball travelling at 110 to 140 km/h. Knocking in slowly compresses and binds those fibres into a firmer surface layer. That layer spreads the shock of each hit across the blade instead of letting it dig into one spot.
A properly knocked-in bat is more durable and also feels better: the sound off the middle gets crisper, and the edges stop showing deep seam marks after every throwdown. Skip it and you are likely to see deep dents, surface cracks along the edges, and toe damage within a few sessions.
Does your bat actually need it?
Not every bat needs the full treatment. Check what you have before you start:
- English willow leather-ball bats: yes, always, unless the label clearly says the bat is pre-knocked. Even “ready to play” bats benefit from one or two extra hours with a mallet.
- Kashmir willow leather-ball bats: yes, but usually less time. Kashmir willow is harder and denser, so two to three hours of knocking is typically enough. Read our Kashmir vs English willow guide for why the two woods behave so differently.
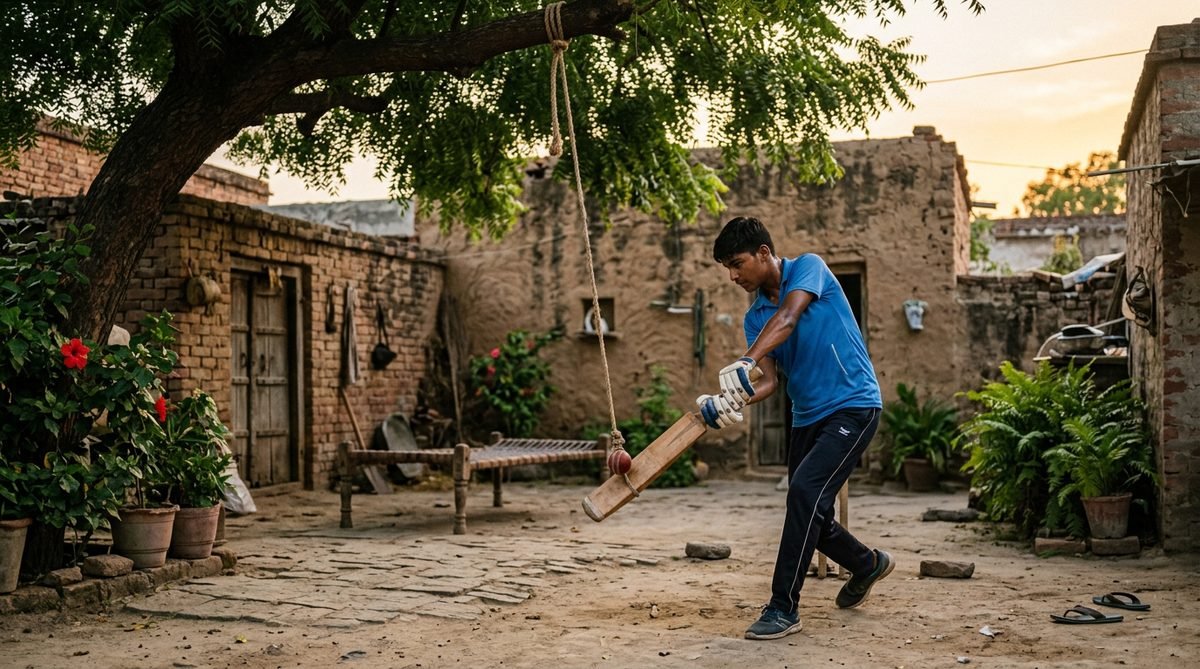
- Tennis ball and tape ball bats: generally no. A tennis ball does not damage willow the way leather does, and many tennis bats have a lacquered or taped face. A light oil on any bare wood is fine; heavy mallet work is unnecessary. See our best tennis ball cricket bats guide.
- Bats with a factory-fitted anti-scuff sheet: knock in through the sheet. Do not oil under it; only oil the exposed toe and any bare edges.
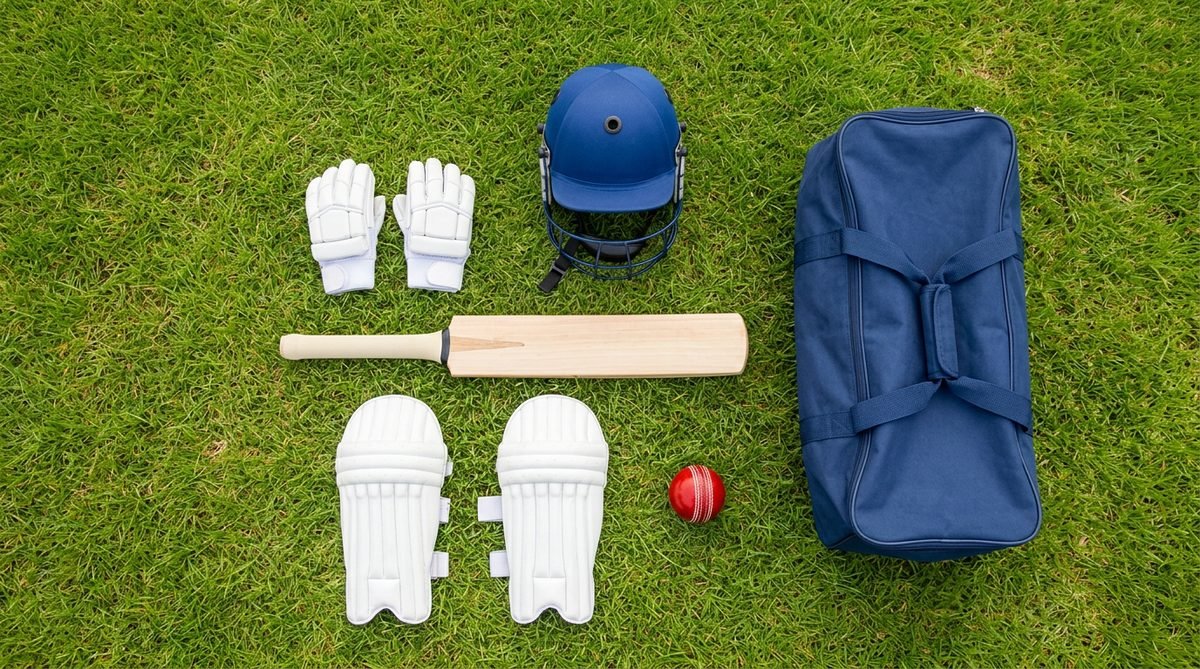
What you need
- Raw linseed oil (not boiled linseed oil from a hardware shop, which contains drying agents). A 100 ml bottle lasts for several bats.
- A wooden bat mallet, ideally hardwood. A ball mallet (an old leather ball on a handle) is gentler and suits the final stage.
- A soft cotton cloth for applying the oil.
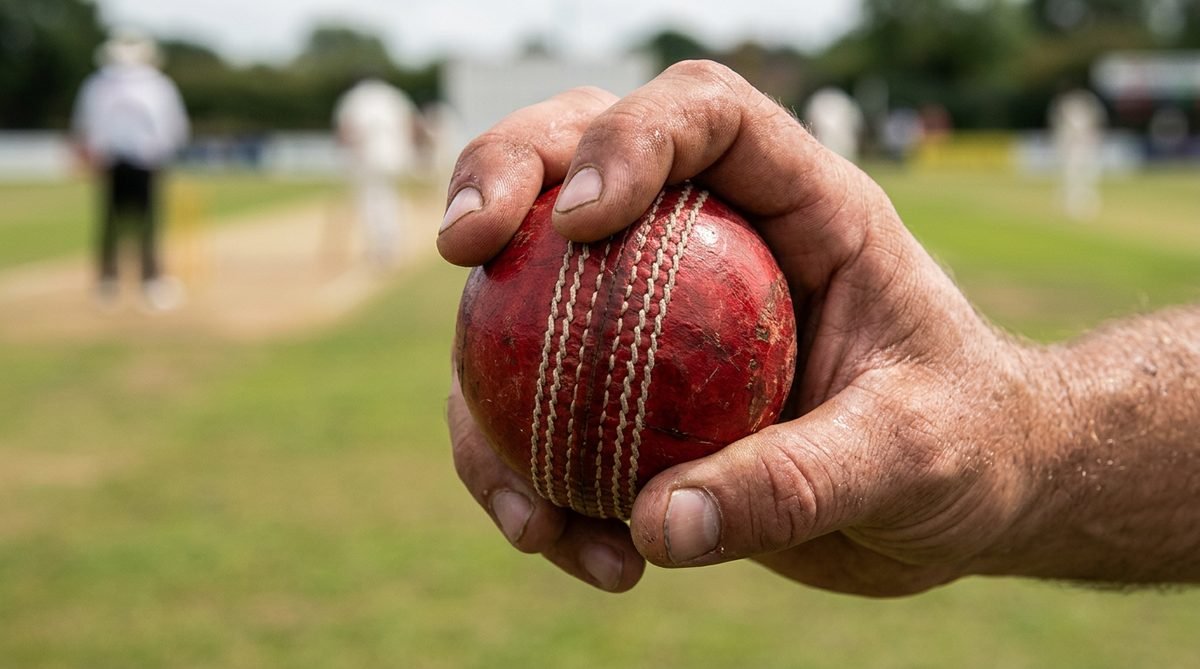
- An old, well-used leather ball for edge work and throwdowns. A new ball with a hard seam is too harsh at this stage.
- Fine sandpaper (optional) to lightly smooth the face before the first oiling.
- Time: roughly four to six hours of knocking for English willow, two to three for Kashmir willow, spread over five to seven days.
If you need to buy kit, these are widely available on Amazon.in and have solid verified-buyer ratings at the time of writing (Nov 2026). Prices move often, so treat these as rough guides:
- GM Linseed Oil for Cricket Bats, 100 ml: about ₹150–200. One of the most-reviewed bat oils on the site.
- DSC Cricket Bat Oil, 100 ml: about ₹170–220. Pure linseed oil; DSC’s own instructions say to avoid the splice and labels.
- GM Sheesham Bat Mallet: about ₹450–550. A heavier hardwood mallet for the main knocking stage.
- GRS Sports Double-Sided Wooden Bat Mallet: about ₹200–300. A budget option if you only knock in one or two bats a season.
Step 1: Prepare and oil the bat
- Remove any plastic wrap and check the face, edges and toe for existing cracks. Small surface hairlines in the grain are normal; a crack you can push a fingernail into is not, so return that bat.
- If the face feels rough, sand it very lightly along the grain. Do not sand off the factory polish on the edges.
- Pour about one teaspoon of raw linseed oil onto the face. Using the cloth, spread a thin, even layer over the face, edges, toe and the back of the blade if it is bare wood.
- Keep oil off the splice (where the handle meets the blade), the handle and the stickers. Oil in the splice can weaken the glue joint over time.
- Lay the bat flat, face up, and let it dry for 24 hours. Storing it upright lets oil run down and pool at the toe.
- Apply a second light coat and dry for another 24 hours. Two coats is enough for almost every bat.
Oiling tip: less is more. A bat should never feel wet or sticky. Over-oiling adds weight, softens the fibres and can lead to wood rot, the opposite of what you want. If the oil is still sitting on the surface after an hour, you used too much: wipe off the excess.
Step 2: Knock in the face (hours 1–3)
- Hold the bat by the handle with the face up, or rest it on a cushioned surface such as a folded towel on your lap.
- Start tapping the centre of the face with the mallet, gently, roughly the force you would use to knock on a door. Work slowly up and down the middle of the blade.
- Over the first hour, gradually increase the force. By the end of the second hour you should be hitting about as hard as a full-blooded drive.
- Cover the whole hitting area from about 15 cm below the splice down to about 10 cm above the toe. Spend more time in the middle, where most balls land.
- Do not hit the edges square-on (at 90 degrees) and do not hit the toe directly. These are the most fragile parts of the bat.
Knocking in is boring, so break it into 20 to 30 minute sessions while you watch a match. Spreading the work over several days is better for the wood than one marathon session.
Step 3: Round off the edges and toe (hours 3–4)
- Hold the mallet at about a 45-degree angle to the edge and tap gently along its length. The aim is to round the sharp corner slightly so that a thick-edge hit does not split it.
- Never strike the edge flat-on. That is the most common way people crack a brand-new bat during knocking in.
- For the toe, tap the face side just above the toe, again at an angle, rather than hitting the bottom of the blade.
- Switch to the ball mallet for this stage if you have one. It is softer and closer to the impact the bat will take in a game.
Step 4: Test with an old ball (hours 4–6)
- Ask a friend or coach for gentle underarm or short-arm throwdowns with an old leather ball. Play straight, defensive shots so the ball hits the middle of the face.
- After 15 minutes, check the face. If the ball leaves deep seam marks or dents, go back to the mallet for another hour.
- If marks are shallow and the face feels firm, move to short net sessions against soft, slow bowling, then gradually build up to full-pace bowling.
- Avoid using the new bat against a new, hard ball or a bowling machine at full pace for the first few sessions.
How long does knocking in take?
| Bat type | Oil coats | Mallet time | Total days |
|---|---|---|---|
| English willow (Grade 1–2) | 2 light coats | 5–6 hours | 6–7 days |
| English willow (Grade 3–5) | 2 light coats | 4–5 hours | 5–7 days |
| Kashmir willow (leather ball) | 1–2 light coats | 2–3 hours | 3–4 days |
| Tennis or tape ball bat | Optional, bare wood only | Not needed | Same day |
These are typical ranges. Softer, lighter English willow clefts need the upper end of the range; harder clefts need less. If a bat comes with a manufacturer’s knocking guide, follow theirs first.
Common knocking-in mistakes
- Using boiled linseed oil or mustard oil. Use raw linseed oil sold for cricket bats.
- Soaking the bat in oil. One teaspoon per coat is plenty.
- Hitting edges and toe straight on. Always angle the mallet.
- Rushing into a match. A bat that is only half knocked in is more likely to crack against a new ball.
- Leaving the bat in a hot car or in the sun. Heat dries out willow and makes it brittle. Store bats in a cool, dry place, in a cover.
- Ignoring small cracks. Surface cracks along the edge can often be repaired with bat tape or a professional fix if caught early.
How to choose a bat that is easier to knock in
If you do not have the patience for a full week of mallet work, there are ways to make life easier:
- Choose Kashmir willow for school and club practice. It needs less knocking and costs much less. Our best cricket bats under ₹2,000 and under ₹5,000 guides cover good starter options.
- Look for bats sold as “pre-knocked” or “ready to play”, and still give them one to two hours with a mallet.
- Make sure you have the right size first. A bat that is too heavy gets mistimed more, which means more edge damage. Use our cricket bat size chart to check.
- For gully cricket with a tennis ball, buy a dedicated tennis bat and skip knocking in altogether.
FAQ
Can I knock in a bat without a mallet?
Yes. An old leather ball held in your hand, or put inside a sock, works for gentle face knocking, and throwdowns with an old ball do the rest. It takes longer and is less even than a mallet, which costs only a few hundred rupees.
How often should I oil my cricket bat?
Two light coats before knocking in, then one light coat at the start and end of each season is enough for most players. Re-oil sooner only if the face looks pale and dry. Never oil over an anti-scuff sheet.
Do Kashmir willow bats need knocking in?
Leather-ball Kashmir willow bats benefit from two to three hours of knocking and a light coat of oil. Kashmir willow tennis bats do not need knocking in.
Is it normal to see small cracks after knocking in?
Fine surface hairlines along the grain on the face are normal and usually cosmetic. Deeper cracks on the edge or toe, or any crack that grows after a session, need attention: stop using the bat and get it checked or repaired.
Can I use coconut or mustard oil instead of linseed oil?
No. Raw linseed oil is used because it soaks into willow and hardens slowly without leaving the wood greasy. Kitchen oils can stay sticky, attract dirt and add weight without protecting the fibres.