To bowl leg spin, hold the ball across the seam with your first two fingers on top, bend your ring finger along the seam, cock your wrist, and at release flick the ball out with your ring finger and wrist so it spins from leg to off. The action is a smooth, side-on, rotating one, with your bowling arm high and your front arm pulling down. Expect it to take weeks of short daily practice before the ball lands where you want, which is exactly what the drills below are for.
We may earn a commission from Amazon links, at no extra cost to you. See our disclosure.
Leg spin at a glance
| Element | What to aim for | Common fault |
|---|---|---|
| Grip | First two fingers across the seam, ring finger bent along the seam | Ball jammed deep in the palm |
| Wrist | Cocked back and bent towards you before release | Flat, straight wrist (no spin) |
| Release | Ring finger flicks up, palm ends facing the batter’s leg side | Rolling the ball out over the top |
| Action | Side-on, high arm, full rotation of hips and shoulders | Square-on, arm only |
| Follow-through | Bowling hand finishes past the front hip, body turned through | Stopping dead at release |
| Length | Slightly fuller than a seamer, tossed above the batter’s eyeline | Short and flat |
What leg spin actually does
For a right-arm bowler, a leg break pitches and turns from the right-hander’s leg side towards the off side, away from the bat. Because the spin comes mainly from the wrist and fingers rather than the shoulder, wrist spinners can usually get more revolutions on the ball than finger spinners, which brings more drift in the air, dip and bounce. The trade-off is control: leg spin is one of the hardest skills in cricket to bowl consistently, so patience matters more than talent at the start.
Step 1: The grip
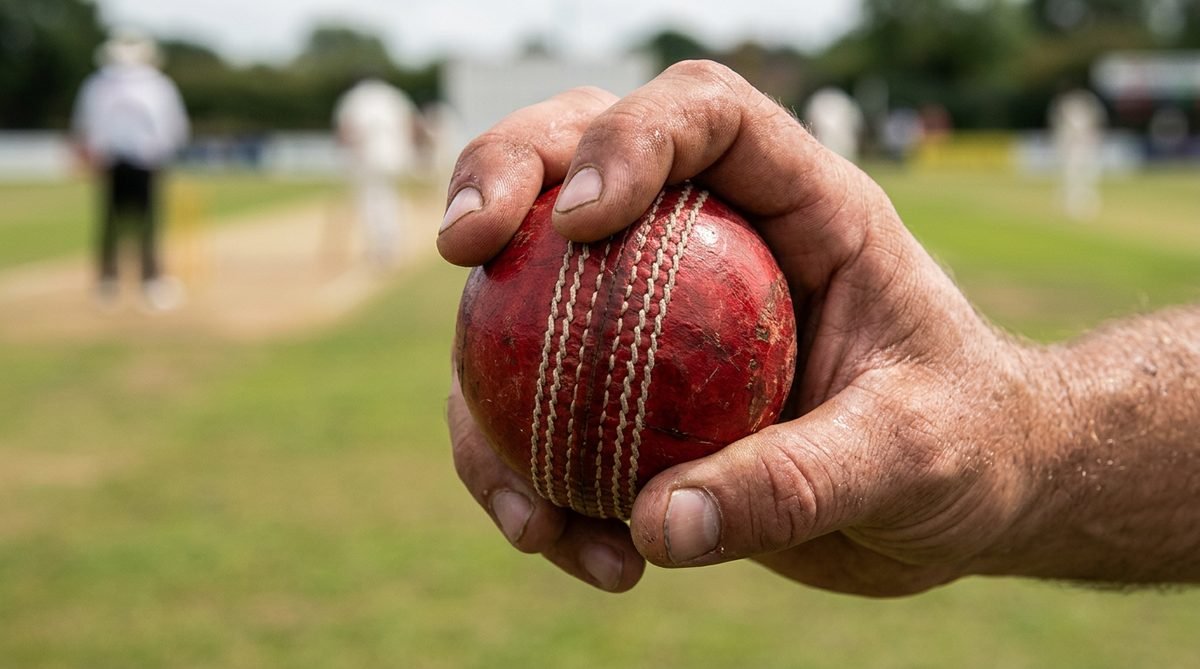
- Hold the ball in your bowling hand with the seam running across your fingers.
- Place the top joints of your index and middle fingers across the seam, slightly apart.
- Bend your ring finger and rest it along the seam. This is your main spinning finger.
- Let your thumb rest lightly on the side of the ball. It should not grip hard.
- Keep the ball in your fingers, with a small gap between the ball and your palm.
Young players with small hands should use a smaller ball (or a tennis ball) until the grip feels natural. Forcing a full-size leather ball into a small hand leads to strain and bad habits.
Step 2: The wrist and release
- Before you bowl, bend your wrist so the ball points back towards your face; the palm faces you.
- As your arm comes over, uncock the wrist and flick the ring finger upward and across the ball.
- The ball should come out over the top of your index finger, spinning anti-clockwise as you look at it from behind (for a right-arm bowler).
- At the finish, your palm should be facing the leg side of the batter and the back of your hand towards you.
Think of turning a doorknob outward as you let go. If the ball comes out without a buzz in your fingers, you are rolling it, not spinning it.
Step 3: The action
- Run-up: 4–6 relaxed, rhythmic steps. Leg spin needs balance, not pace.
- Load: land on your back foot side-on, with your front shoulder pointing at the target and your non-bowling arm up.
- Front foot: land the front foot slightly across, in line with the stumps, toe pointing roughly at fine leg or straight.
- Rotate: pull the front arm down hard while your hips and shoulders turn through, and bring the bowling arm over high.
- Release: let the ball go above your head, with the wrist and finger flick from Step 2.
- Follow-through: keep rotating so your bowling hand finishes past your front hip and your back leg comes through.
The body rotation is what adds revolutions and drift. Many beginners rely only on their wrist and wonder why the ball does not get to the other end.
Equipment for practice
- A few tennis balls or rubber balls for early sessions and indoor drills.
- A set of stumps, or a bucket or bottle as a target.
- Chalk, tape or cones to mark a length zone.
- Once your grip is comfortable, a leather or hard practice ball of the right size for your age.
- Optional: a two-colour practice ball, where one half is a different colour, so you can see how well the seam is rotating. You can find two-colour cricket practice balls on Amazon.in; prices and quality vary, so check verified buyer reviews.
6 leg-spin drills for beginners
Drill 1: Hand-to-hand flicks
- Sit or stand, holding the ball in the leg-spin grip.
- Flick the ball up 30–50 cm into the air with the wrist and ring finger, and catch it in the same hand.
- Check the seam: it should spin cleanly without wobbling. Do 50 a day.
Drill 2: Kneeling spin
- Kneel on your back knee, front foot forward, about 5–6 metres from a partner or wall.
- Bowl leg breaks using only your upper body and wrist.
- Watch the ball dip and turn. This isolates the release without worrying about the run-up.
Drill 3: Standing, side-on release
- Stand side-on from 8–10 metres with no run-up.
- Step forward on your front foot and rotate fully as you bowl.
- Focus on finishing your follow-through every time.
Drill 4: Target length zone
- Mark a box about a metre long, roughly 3–4 metres in front of the batting crease, in line with middle and off stump. Adjust it for age group and pitch length.
- Bowl 6-ball overs from your full run-up and count how many land in the box.
- Write down your score each session. Improvement over weeks is the goal, not perfection today.
Drill 5: Spin past the bottle
- Place a bottle or cone on the leg-stump line where the ball should pitch.
- Put a stump at off stump at the batter’s end.
- Try to pitch just outside the bottle and turn the ball to hit or pass close to the off stump. This trains the amount of turn you can rely on.
Drill 6: Above the eyeline
- Have a friend stand halfway down the pitch holding a bat or stick upright at head height.
- Bowl so the ball passes above the top of it and still lands on a good length.
- This builds the loop and dip that make leg spin dangerous.
Common mistakes and quick fixes
- Bowling full tosses and long hops: usually a rushed run-up or releasing too early or late. Shorten the run-up and go back to Drill 3.
- No turn: the ball is being rolled out of the palm. Return to Drill 1 and feel the ring finger doing the work.
- Bowling too fast and flat: slow down, give it air (Drill 6), and trust the spin.
- Falling away to the off side: the front arm is not pulling down. Focus on driving your body over the front leg.
- Trying variations too early: learn one reliable leg break before the googly or top-spinner.
When to add variations
Once you can land most balls in your target zone, coaches often add the top-spinner (same grip, with the wrist turned partway between a leg break and a googly so the ball spins forward, dips and bounces straight on) and later the googly (released out of the back of the hand so it turns the other way). Leave the flipper and other advanced deliveries until you are older and working with a coach, because they put more load on the wrist and shoulder.
How to choose your practice plan
- Complete beginner: two weeks of Drills 1–3 with a tennis ball before you bowl full overs.
- Can spin it but can’t land it: spend most sessions on Drills 4 and 5 and track your scores.
- Landing it but batters are comfortable: add Drill 6 for loop and start working on a top-spinner.
- Limited space at home: Drill 1 and Drill 2 fit in a room or terrace; pair them with the batting drills you can do at home on alternate days.
Keep sessions short, around 20–30 minutes or 4–6 overs of real bowling for juniors, and stop when your accuracy drops. Tired spinners practise bad habits.
Safety note for kids
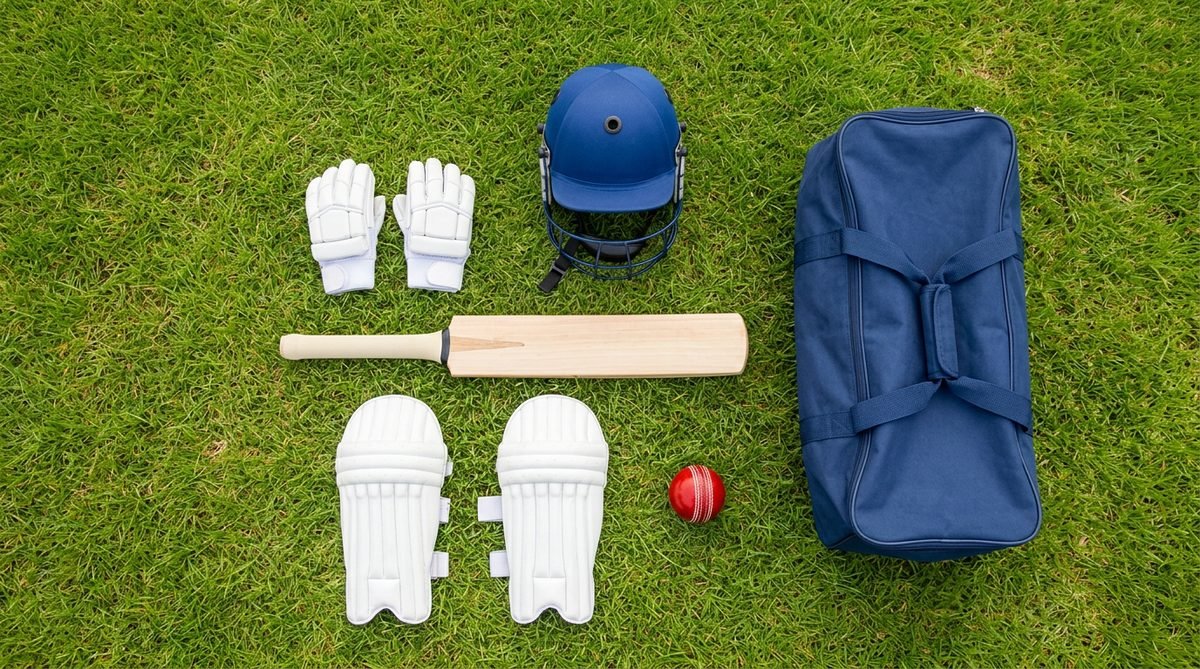
Leg spin puts repeated stress on the wrist, fingers and shoulder, so children should warm up first and limit the number of balls they bowl in a session. Use a ball suited to their hand size, avoid advanced variations until a coach approves them, and stop immediately if there is pain in the wrist, elbow or shoulder. When a batter faces a hard ball in practice, they need a helmet and full protective gear; see our guide to cricket kits for kids.
FAQ
How long does it take to learn leg spin?
Most beginners can get the ball spinning within a few sessions, but landing it consistently usually takes months of regular practice. Short daily sessions work better than one long session a week.
What is the difference between leg spin and off spin?
Leg spin is wrist spin: the ball is spun mainly by the wrist and ring finger and turns from leg to off for a right-arm bowler. Off spin is finger spin: the index finger does most of the work and the ball turns from off to leg for a right-hander.
Can I learn leg spin with a tennis ball?
Yes, especially for grip and release drills. A tennis ball will not grip or turn like a leather ball on a pitch, so move to a hard ball once the action feels natural.
At what age should children start bowling leg spin?
Children can try the basic leg break with a soft ball from a young age, as long as sessions stay short and fun. Leave the googly and flipper until they are older, stronger and working with a coach.